Introducing SnapUp: Collect Visual UGC, Reviews & Ratings Seamlessly
A recurring question among e-commerce businesses is “How to collect UGC?”
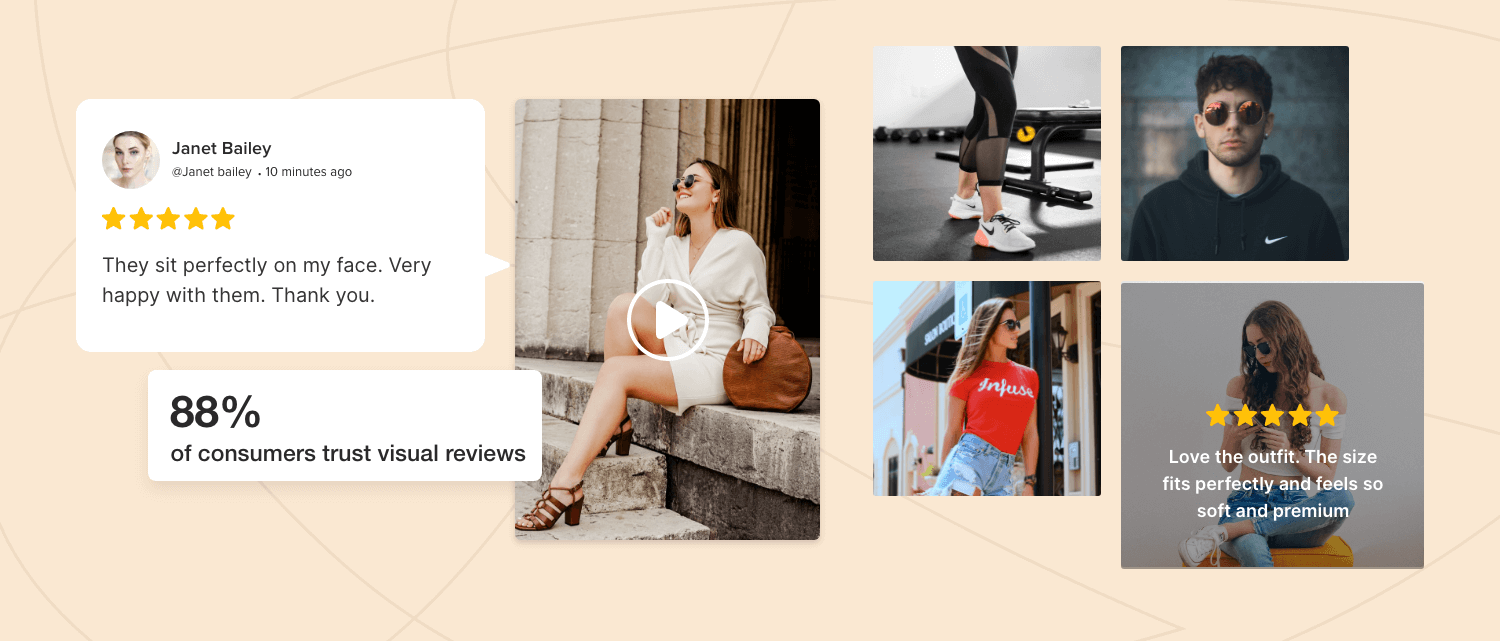
User-generated content is a valuable asset for both businesses and consumers. Social proof, such as visual reviews, ratings, customer content, etc., is no secret that brands can use it to create game-changing elements.
Even though its significance cannot be overstated, its collection remains challenging for businesses. How can brands collect UGC, and how can they benefit from it?
Tagshop makes it easy for users with its on-site visual uploader – SnapUp.
Here’s a complete guide about the feature by Tagshop.
What Is SnapUp and Who Can Use It?
SnapUp is a feature by Tagshop that allows brands to retrieve all forms of user-generated content, such as reviews, ratings, and visual content like photos and videos from their customers. It allows the audience to directly upload this content through your preferred touchpoint, such as:
- Scannable QR Codes integrated into the website.
- A unique shareable link that users can access anytime to upload content.
- Send personalized SMS with an uploader link to boost the collection.
That’s not all. You can also customize this feature to improve its efficacy by adding a CTA or other actionable buttons.
This feature is excellent for businesses looking to drive and acquire more user-generated content, especially authentic social proof from their customers, and leverage it in various ways to build a trusted brand backed by feedback from real customers.
How To Use Tagshop’s SnapUp Feature?
Here’s a step-by-step guide for using SnapUp – the on-site UGC uploads feature in your Tagshop account.
To use Tagshop’s Snapup feature, follow these steps:
- Login to Tagshop if you are an existing user or create a free Tagshop account.
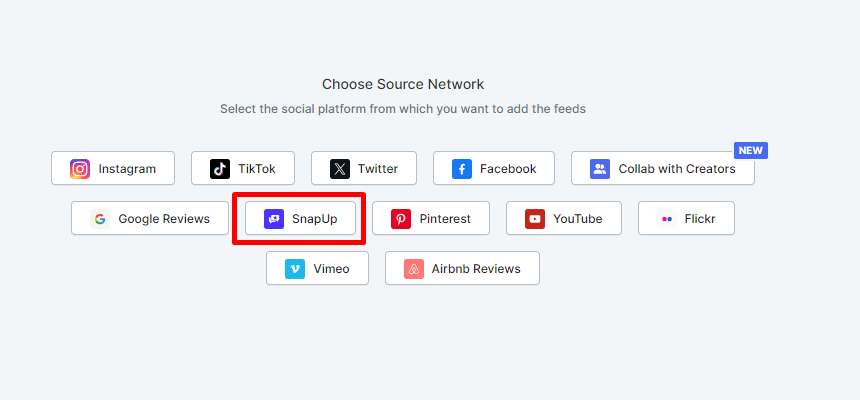
- From the provided list of source networks, select ‘SnapUp.’
- After selecting SnapUp, you can customize the uploader here. Add a title, logo, and background image to match your brand.
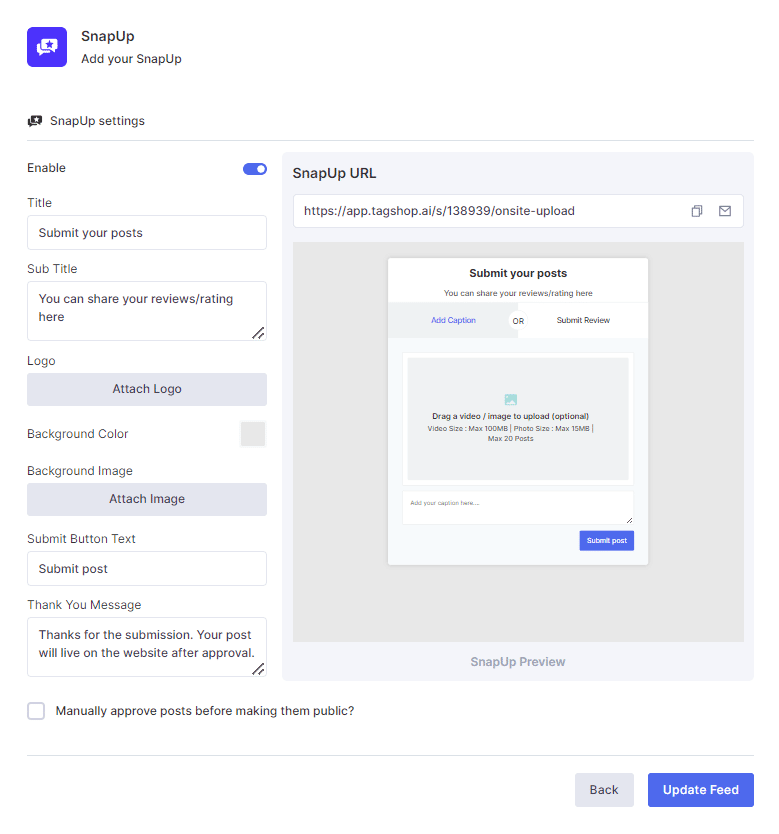
- Once the customization is done, click ‘Publish Options’ at the top of the uploader.
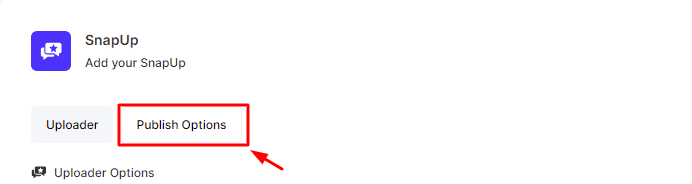
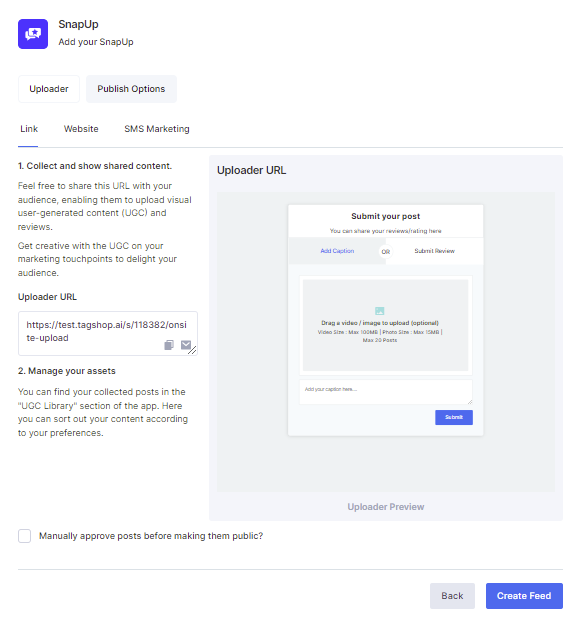
- Now, Tagshop offers three options through which businesses can collect UGC.
- Link: Generate a shareable link and circulate it among customers so they can access it and collect UGC easily.
- Website: Display scannable OR code on your website’s homepage and allow your customers to upload reviews, ratings, and other forms of visual content.
- SMS Marketing: Send personalized SMS with an accessible link, allowing your consumers to upload UGC.
2X Your Content Aggregation with SnapUp
Collect visual UGC, reviews & ratings without any social login
No CC Required
Benefits of SnapUp for E-commerce Brands
Let’s get a detailed overview of the key reasons this feature is necessary for your brand’s online store.
1. Understand Customer Emotions
Your customers are your best advocates and best critics. Therefore, it is essential to understand the emotions, feedback, and satisfaction levels. This helps brands to improve their experiences and strategies.
With a direct collection of UGC reviews and ratings, brands can understand customer emotions and satisfaction levels. It can also be leveraged to analyze brand performance.
2. Build A User-Generated Content Hub
User-generated content is the most trustworthy, reliable, and authentic form of content about a brand. Almost 95% of consumers trust what existing brand customers say while purchasing.

This feature will help you collect and curate the most valuable, natural, and raw user-generated content in different forms directly from the users. You can create a hub of this user-generated content and leverage it in your eCommerce marketing campaigns and brand channels.
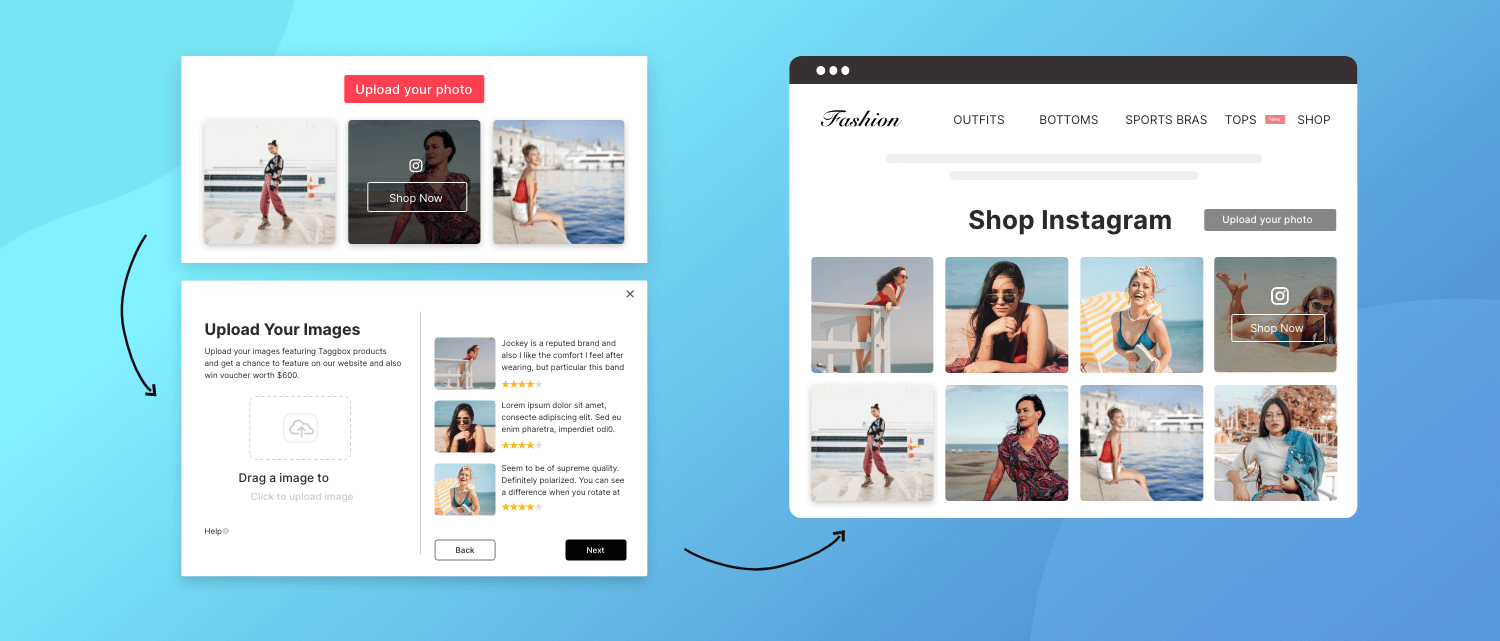
3. Leverage UGC on Your eCommerce Website
Your online store or brand website should look and feel trustworthy and credible. Social proof increases the chances of more leads, better user engagement, and maximized conversions, leading to increased revenue and incredible brand growth.
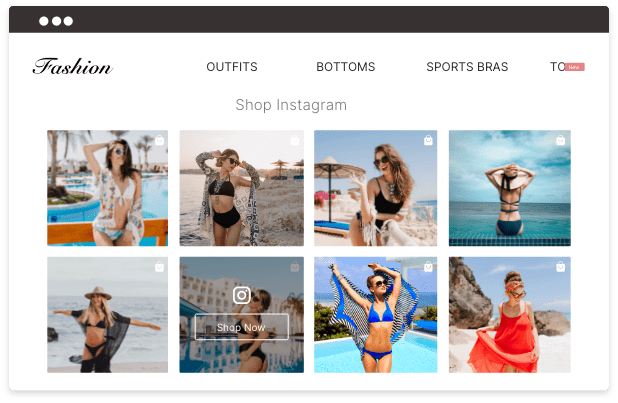
You can showcase the visual UGC on your product page galleries, add reviews to the home or category pages, and highlight positive ratings – all at once to maximize the click-through rate, upsell products, increase dwell time, inspire consumers, reduce cart abandonment, and boost your brand sales.
4. Get Pre-approved Content Rights
Since users on social media share the content, they are the owners of the content they share. Therefore, brands can not repurpose user-generated content without getting content rights.

However, with SnapUp, you can add UGC rights permissions in the terms and conditions to get implied content rights when the user submits their images, reviews, and ratings.
Get started with Tagshop
Secure UGC rights for your brand and utilize it in all marketing touchpoints
No CC Required
5. Leverage It Across Other Channels
Content creation is a lengthy, time-consuming, and expensive process. Brands must invest vast resources to create and publish content across different channels. In contrast, users’ content is created and shared by users directly without any massive investments.

You can leverage the user-generated content and reviews collected across different channels, such as a website, online store, social ads, events, offline campaigns, social commerce platforms, etc.
Conclusion
This was a complete guide on on-site visual UGC, reviews, and rating uploads feature from Tagshop. This feature can help you enable your brand growth and success through your customers’ voices.
Now it is time to leverage this feature with Tagshop to maximize your online user engagement, boost sales, build social proof, and grow revenue. Similarly, you can inspire your customers, build a community, highlight brand advocates and much more.